


Makeup
Backstage Beauty Tips

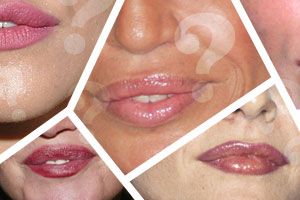
Plastic Surgery, Minus the Needle
Let makeup be your extreme anti-aging makeover solution -- no downtime required
Is an "imperfect" facial feature messing with your confidence? Believe it or not, sometimes what can be done with a knife or needle can also be done with a brush or wedge sponge -- and a trick called contouring. Follow these makeup artist-approved tips on giving yourself a temporary makeover without looking like you're trying too hard. (Bonus: No downtime!)
By Emily Kate Warren
older comments

I'm still all for the needle!
by EricaC123 Saturday, January 5, 2013 at 12:51PM Report as inappropriate


Applying dark shadows is a great trick, but you have to do it right or else you'll look really odd.
by CeeNee Monday, August 23, 2010 at 05:48PM Report as inappropriate
Get the NoseSecret brand. i like it a lot.
by Beauty_secret Wednesday, November 11, 2009 at 08:51PM Report as inappropriate
Want to slim down a bulbous nose? I trully recommend the nose inserts. hey slim your nose in seconds. I have used them for over 10 years and hey are a must have in my cosmetic bag. It is the perfect makeover to your nose for the price of a blush.
by Beauty_secret Wednesday, November 11, 2009 at 08:45PM Report as inappropriate
Showing 1 - 6 of 6
- 1
- Advertisement -
related stories


Beauty Tips
Look as Good as the Victoria's Secret Models
Skin care
Celebrity Plastic Surgery Gone Wrong


