
Nails
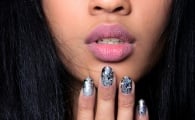
This Is the Manicure You Should Get, Based on Your Astrological Sign


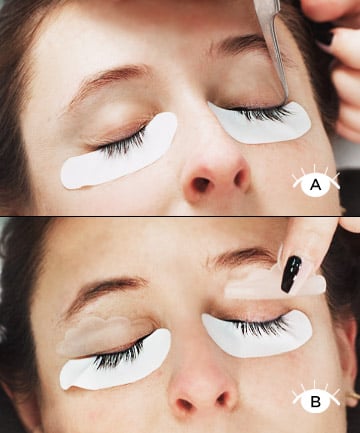
I Got My Eyelashes Lifted, Here's What HappenedThis treatment promises bat-worthy lashes, sans eyelash curler and mascara -- but does it work? One editor investigated |
 PHOTO 2/8