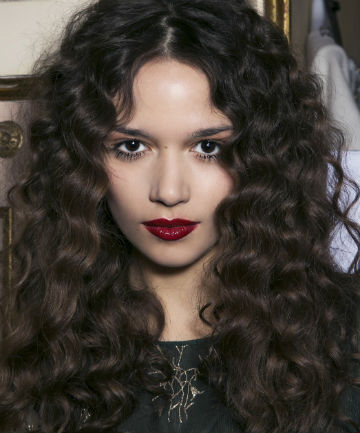
If you have curly hair (or just want curly hair) then a diffuser is a must-have item in your beauty arsenal. What is a diffuser? It's an attachment for your blow dryer that changes the air flow from a direct stream of air to a more diffused (get it?) wide circle of air. This helps to minimize frizz, since there's less hot air aimed at any one part of your hair, so it's perfect for curls. If your blow dryer didn't come with a diffuser, you can buy a universal one that will attach onto the nozzle (just make sure it's the right diameter before you buy).
For help using this tool, we talked to Ouidad, a curl expert and founder of the Ouidad line of hair products (specifically for curly girls) and Ouidad salons, which specialize in cutting and styling curly hair. She walked us through the step-by-step process for diffusing hair — everything from the products to use, the temperature of the blow dryer and even exactly what to do with your hands. Follow her guide and you're sure to wind up with defined, frizz-free, volumized and shiny curls.
Even if you don't have naturally curly hair we got tips to get it that way with a diffuser. See how you can go from wavy to full on curly in a snap.
If your hair is wavy you can skip this step because it may weigh down the curls you're trying to create.
Photo 3/9
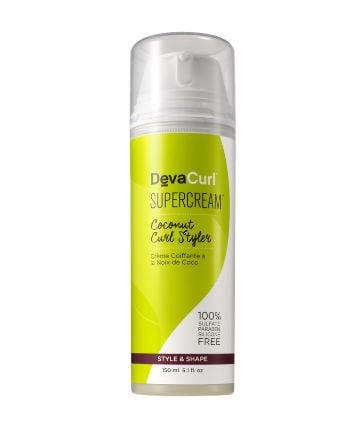
Step 2: Use the "rake and shake" method
Ouidad has a signature method for applying product that helps curls keep their shape so your final look has more definition. It takes some time but the results are worth it.
To start, divide hair into five sections: one at the front of your head, and two sections on each side of your head. Take one section at a time and rake product through it with your fingers. Use a styling lotion for curly hair (try DevaCurl SuperCream Coconut Curl Styler, $28), or a foam or mousse for wavy hair (try Finesse Self Adjusting Curl Defining Mousse, $3.79).
After you've smoothed the product on the section, hold on to it by the ends and gently shake your hair to help natural curls form. If you skip this step your curls will loose their shape. You can divide each section into smaller sections as well for the shaking to help each individual curl form.
Photo 4/9
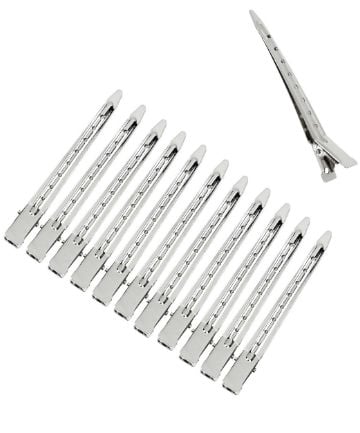
Step 3: Add volume
Before you begin blow drying, take duckbill clips (like Conair Metal Styling Clips, $3.99) and place them at an angle into the roots of your hair so they gently lift the top section of your hair (this will keep it from laying flat). If volume isn't an issue, skip this step.
Once you've done this, you can either begin blow drying or wait 10 to 15 minutes for your hair to dry a bit naturally. Ouidad recommends this so curls can naturally form.
Photo 5/9
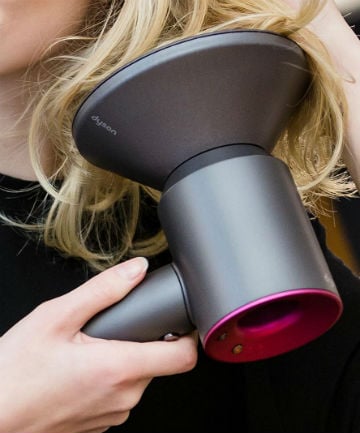
Step 4: Blow dry curls
Start by setting your dryer on low or medium heat and air pressure (yes, it takes longer, but it doesn't dry out your hair or cause frizz).
Then, tilt your head to one side and place the diffuser close to your roots and hold it there until dry. Repeat the process while tilting your head back and to the opposite side as well.
Naturally curly girls will want to stop here and let their ends dry naturally (it'll keep curls softer). For girls with wavy hair who want more curl, take your ends and lay them into the diffuser, then lift the dryer up towards your scalp and hold. Your hair will form a circular pattern inside the diffuser so you get curls. Repeat this process with small sections of hair until your strands are completely dry, otherwise curls won't hold.
If you have curly hair (or just want curly hair) then a diffuser is a must-have item in your beauty arsenal. What is a diffuser? It's an attachment for your blow dryer that changes the air flow from a direct stream of air to a more diffused (get it?) wide circle of air. This helps to minimize frizz, since there's less hot air aimed at any one part of your hair, so it's perfect for curls. If your blow dryer didn't come with a diffuser, you can buy a universal one that will attach onto the nozzle (just make sure it's the right diameter before you buy).
For help using this tool, we talked to Ouidad, a curl expert and founder of the Ouidad line of hair products (specifically for curly girls) and Ouidad salons, which specialize in cutting and styling curly hair. She walked us through the step-by-step process for diffusing hair — everything from the products to use, the temperature of the blow dryer and even exactly what to do with your hands. Follow her guide and you're sure to wind up with defined, frizz-free, volumized and shiny curls.
Even if you don't have naturally curly hair we got tips to get it that way with a diffuser. See how you can go from wavy to full on curly in a snap.