Lipstick Rule No. 5: Lip Liner's a Bitch, But It's Still Your Friend
Nix that mental image of bad '90s lip liner, and hear us out. Smith and Blair agree that one of the gravest lipstick mistakes you can make is wearing bright lipstick without liner.
"Liner is required for full lip service," says Blair. In other words, your bold red lip is doomed without a matte base for the color and a clean, defined edge, created with liner.
That said, Smith warns that there's a right way to do liner -- and a host of wrong ways. First, don't pick a pencil that's darker than your lipstick -- that will leave you looking all the wrong kinds of retro. Instead, Smith says, "Choose a liner that matches your color, so the application is smooth and even." (Try M.A.C. Ruby Woo Lipstick, $16, with M.A.C. Ruby Woo Lip Pencil, $16). Alternatively, a colorless universal liner, such as E.L.F. Studio Lip Lock Pencil, $3, does the same job (and works with all your lip colors).
Overdrawing the lips is also a bad move. "This never looks good," says King. "Stick to the actual line of the lips for a more natural look."
But one of the biggest liner tragedies happens "when you're left with a line of lip liner around your mouth after your lipstick or gloss has faded away." To avoid this, Smith says to "fill in your entire lip with liner -- even if it's just lightly -- so that you still have even, all-over color when the gloss or lipstick fades away." Blair describes this as a matte "stain," which remains all over the lips, even as the bolder lipstick on top disappears. (You can also use a colorless lip liner here).
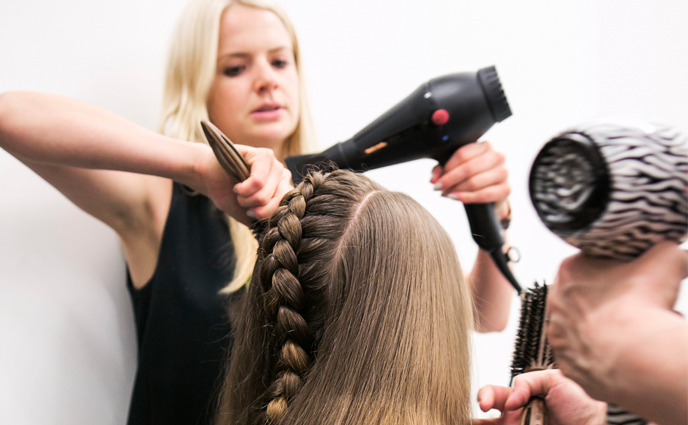
Photo 7/14
Lipstick Rule No. 6: Symmetry Is Key
Blair says the biggest application error she sees is when people fail to pay attention to the symmetry of the mouth. "It's important to follow the natural shape of your lips -- to take your time," she says.
For pro application, draw a V shape in the center of the Cupid's Bow with liner, then round the shape on either side into a soft M. Next, draw a small horizontal line in the center of the bottom lip. Work your liner from the corner of the mouth up to the Cupid's Bow on either side of the top lip, then from the corner of the mouth down to the center on either side of the bottom lip. Starting from the same place each time helps create the symmetry you're going for. After liner, fill in your lips with lipstick using the same symmetry-wise technique. (If you're foregoing liner, skip straight to lipstick using these same steps).
With your liner and lipstick, it's important to use short, sketching strokes. "Lips are not flat or straight," explains Blair. "So if you try to draw a continuous, straight line, you won't be able to follow the natural shape of your mouth."
It may take a little practice, but this technique should yield even color and a balanced, natural-looking shape.
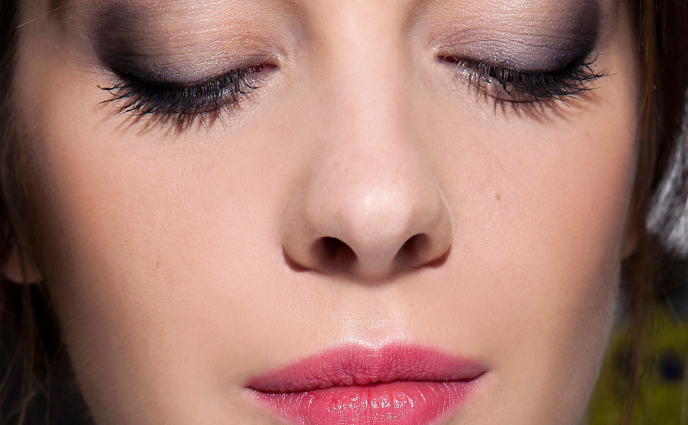
Photo 8/14
Lipstick Rule No. 7: Consider a Lip Brush
If you're wearing a bright color, Blair recommends using a lip brush to refine the edge of your lips -- almost like a liner. But if you're nervous about too-bold pigment, try using a lip brush to fill in the rest of your lips, as well. (Try M.A.C. Retractable Lip Brush, $24).
"Using a lip brush for application sheers out the lipstick," says King, "which can be great if you want a sheer lip." In other words, if you feel more comfortable layering your color gradually, a lip brush can be a great tool. However, if you want a full, intense lip, "It is better to apply straight from the tube."
Photo 9/14
Lipstick Rule No. 8: Toss the Gloss
"Applying gloss over your lipstick is a common mistake," says King. "This can cause the lipstick to bleed and transfer onto the teeth."
If you're going for more sheen on the lips, King recommends applying a lip balm first (as discussed in Rule No. 2) -- not a lip gloss. Or, instead of lipstick, opt for a highly pigmented liquid lip color, such as Nars Lip Gloss, $26.
Photo 10/14
Lipstick Rule No. 9: Perfect Your Edge
After your lipstick is all filled in, sometimes the edge still looks a little wonky. To fix this, King suggests applying liner after your lipstick to even things out -- without going outside the edge, of course. "Often it's easier to line after lipstick application," she says, since you already have the basic shape to work with.
If you're still worried about your lipstick bleeding outside the edge, King recommends using a lip brush to apply concealer around the lip line, or doing the same with a colorless lip pencil, such as Lipstick Queen Invisible Lip Liner, $10.